
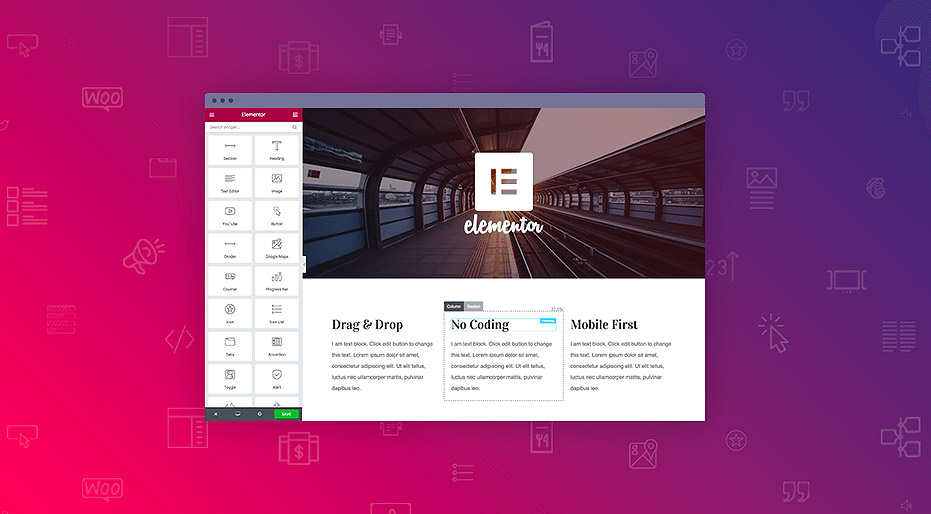
Elementor is one of the most popular page builders these days. It’s become very popular thanks to the fact that it has a version that can be installed for free through your WordPress account.
If you’ve just begun to learn how to create a website and need a little more direction before you get started, Elementor is an effective and user-friendly way to not only dip your toes into the world of page building, but will help you make something unique and functional.
This Elementor tutorial will help you get started and get familiar with this plugin.
Getting Started
Once you’ve set up your WordPress business account, you’re ready to install the Elementor Page Builder plugin, along with Fullwidth Page Templates. In order to use these plugins, however, you’ll need to start by adding a new page:
1) First Step
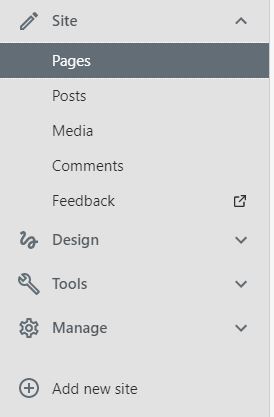
After you’ve logged in, look at the sidebar menu on the left of your Dashboard and select the drop-down menu for “Site,” then click on “Pages.”
2) Second Step
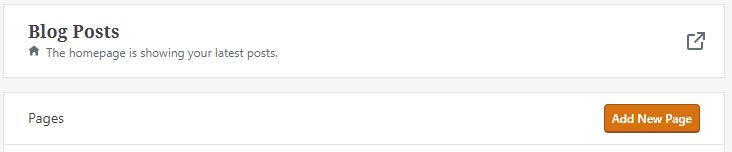
Then, any pages you’ve already established should appear on the main part of your screen to the right of the sidebar menu, along with an option to “Add New Page”. Click that button, which will take you to your page editor.
NOTE: If you prefer the more classic look for your Dashboard, you can do all this from the Admin view of your site by going to [YourWordPressURL].com/wp-admin. The main difference here is that you will not have to click on “Site” first to reveal the option for creating a new page, but clicking “Add New” will still take you to the page editor.
3) Third Step
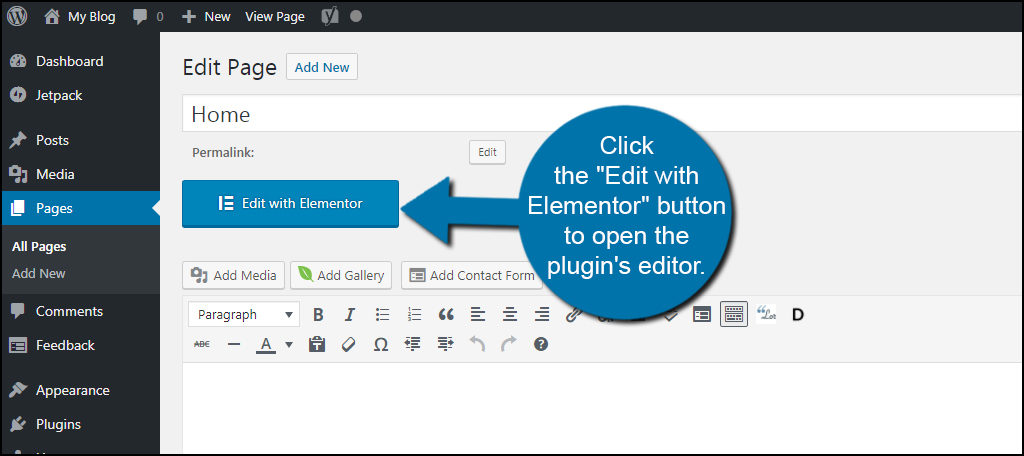
Type out a title for the new page, then look at the sidebar menu to the right of the page editor and click on “Page Attributes.” From there, you should be able to click on “Templates” and select the option for “FW Fullwidth.”
4) Forth Step
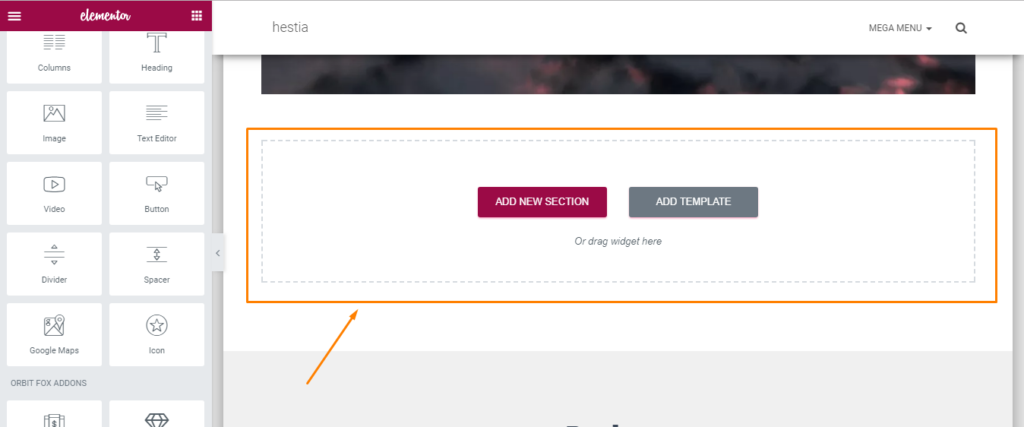
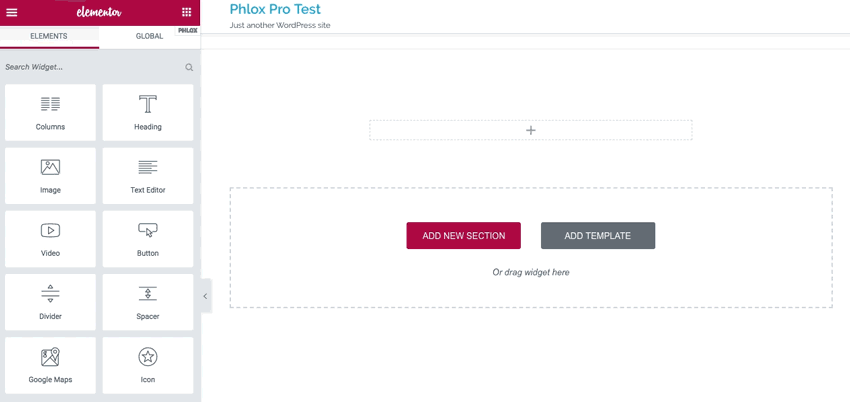
Click the blue “Edit with Elementor” button, then the gray “Add Template” button. There will be plenty of free templates available to download, so scroll through them until you find ones that you like.
Once you do, click on the thumbnails to see fuller versions of them and avoid clicking “Insert” until you’ve found the one you’re certain you’re happy with.
Once you’ve decided on a template for your page, click that green Insert button and add it to your media library. (You can still back out if you change your mind by clicking the “Back to Library” link, but waiting on that Insert button will save you some time.)
5) Fifth Step
If you’re happy with your template selection and have inserted it into your media library, click the green “Save” button at the bottom left of your screen. Next step: customization!
Customizing Your Elementor Page
Now that you’ve decided on what you want your page to look like, it’s time to make it your own. Elementor makes it easy to replace its stock content with yours, using intuitive blocks to organize content flow.
Text
Editing text is as simple as dragging or triple-clicking the block (called “element”) to select it and typing or pasting your new text.
Images
There’s a bit more to editing the images in your Elementor page, but it’s simple once you understand the three types of Elementor images:
- images within your content,
- icons, and
- background images.
There are separate widgets for each type, and you can find their corresponding settings on the sidebar that will appear when you click on one.
You’ll see a red header at the top that will tell you which type of element you’ve clicked on, which will help you know what you need to do to change the image.
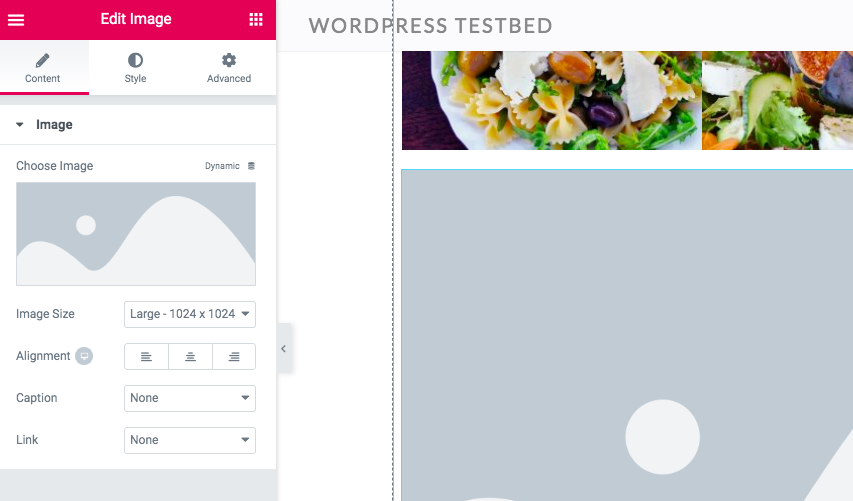
Changing an Image
- Click the image you want to replace. A sidebar will appear on the left with a miniature of the image.
- Click the miniature of the image to access your image library (don’t click the Delete button).
- Select the image you want to use in place of the current one and click “Insert Media.”
Changing an Icon
- Click on the icon image and double check the red line at the top of the sidebar to ensure it says “Edit Icon.”
- From the Content tab (on the far left), select which icon you’d prefer from the drop-down list.
- Try out the additional settings to turn the icon into a link or change its size, alignment, color, etc.
Changing a Background Image
Elementor uses unique background images formed by individual rows called “Sections,” which had an Edit icon that looks like a square or rectangle with a horizontal line through it.
These rows often have color blocks called “Columns,” which have a separate Edit icon that looks similar, but with a vertical line instead. To edit your background images and colors, just pay attention to which icon you need to select.
Once you’ve selected the correct icon, go to the Style tab in the center. If your column or section has an image in it, you’ll see it pop up underneath this tab. Follow the usual steps to replace it as explained above if you’d like to.
If you just want to change the color of the background, select the Background tab and click on the color swatch to switch it to a different one of your choosing.
Links
Links are also remarkably easy to add into your Elementor buttons.
- Simply click on the Edit icon for whichever button you want to add the link to and make sure you’re on the Content tab.
- There will be a Link box for you to type your URL into. Either type it manually or copy/paste it.
- Click the Save button, then exit out of the edit box.
Once you’re satisfied with the edits you’ve made, always close out of the editor and go to your site’s URL to make sure that all of your changes look exactly the way you wanted them to.
Elementor Alternatives
While Elementor is a great page builders, it is not the only option when it comes to such plugins. There are many other options such as Beaver Builder, WP Bakery, Divi and many others.
If you’d like to see how they compare to each other, you might want to look at one of the available comparisons such as this Elementor VS Divi guide.
Wrapping Up
This Elementor tutorial has only covered the basics of what it is capable of doing for you, even just in the free version.
What makes it such a wonderful page-builder, though, is that the above tools are all you need to create a fully functional, completely unique page for yourself, your blog, or your business once you’ve integrated your own content into the template.
You’ll undoubtedly be itching to get into the more advanced customization options, so make sure you’re confident in your Basics skills and dive into the next set of tutorials.
Author: Rachel Gates


